Things are coming along !!
Posted on Tue 25 May 2010 in Projects
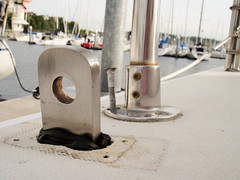
Dawn has finished re-installing the chainplates. She used leftover butyl from the portlight installation to seal the chainplates as they go through the deck and then put the cover plates on with 4200 and screws. The picture is is before she’s pushed all the butyl in.
She’s also been working to fair up the mast partner (where the mast go through the deck into the salon before attaching to the keel) by laying on epoxy and sanding it down. This seals the core of the deck and provides a smooth surface for when we then seal the mastdeck opening with Spartite. Dawn has been kicking much butt!!
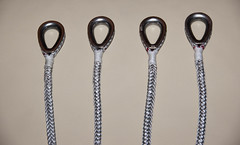
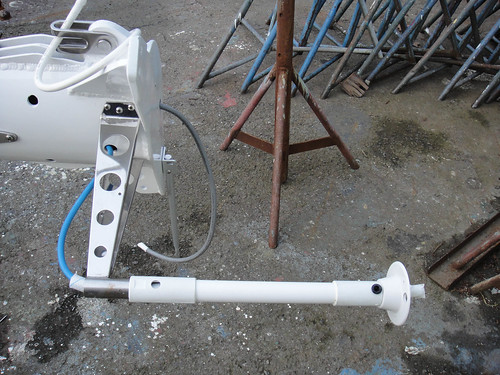
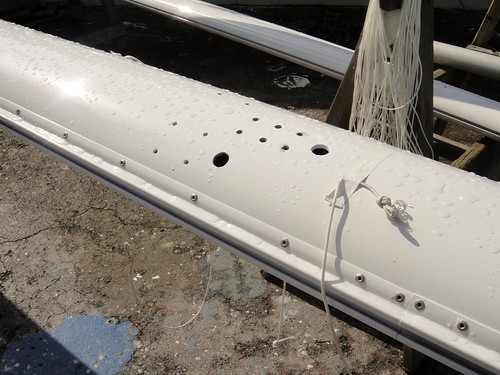
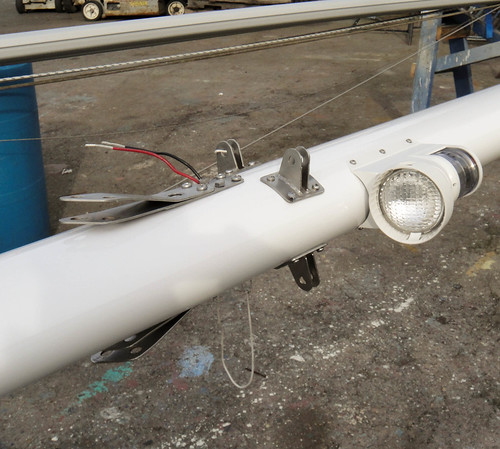
I’ve been finishing up the electrical installations on the masts, attaching all of the other bits that go up there and attaching the rigging to the masts. Along with that I’ve also been doing some Amsteel splicing for fixed sections of the running rigging. This is a pretty simple bury splice that is secured by thru-stitching and then whipping it. Samson has great splicing instructions on their website, this was a Class II 12 Strand Eye Splice (PDF). I didn’t use a fiddle as they show, I used Brion Toss’ Splicing Wands which are absolutely awesome! You can buy them online or probably at your local chandlery.
At this point I’m a couple of properly sized pins and some thru bolts away from finishing up at the yard. Finding the right length of clevis pins is proving to be more of a pain than I had imagined. I don’t know why manufacturer’s don’t make each pin diameter in all the necessary lengths. Now I know my old pins were so horribly long.
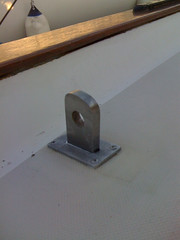
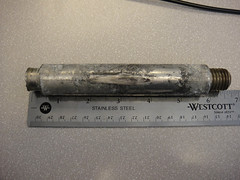
I will will also be having <The Yard> make me a new bolt that thru-bolts the main lower shroud tangs. It’s a custom lathed part. This pic is of the original one after it was cut off. Here is one of each side when it was installed.
All of this is goodness and will let us put the rig back up. I am going to order the new halyards this week as well. Once the rig is up we’ll finish up the booms and mount the winches. The main goal though is to get all of the parts and tools out of 3 places and get them all on to the boat so I can work in one place and not run around so much. Progress happens, and when it does we love it !!