When we bought our Pearson 424, we knew right off the bat we had to
replace the portlights and the teak eyebrow trim along the outsides of
the cabin top. The existing portlights were old and leaked causing the
interior teak veneer to delaminate, no structural issues. The plastic
windows were also hazed over and they just looked poor. At the 2009
Seattle Boat Show we made the first decision towards the beginning of
this big project in that we purchased our new portholes from
New Found Metals, located in Port
Townsend, WA. Its always nice to be able to support local businesses.
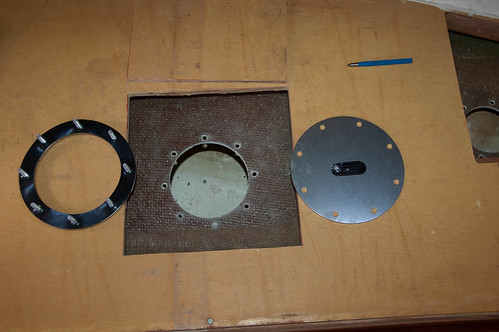
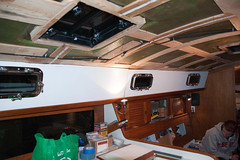
The new portlights are either slightly larger (in case of the 5”x12”) or
much larger than the existing portlights so there is some work to
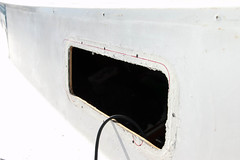
enlarge the holes once the existing portlights are removed. Doing all of
this prep work is actually really easy using the templates provided by
New Found Metals. You clamp the
template in place, trace your lines and cut out the new hole. You also
use the template to drill all the holes for thru bolting the portlight
to the outer trim.
One time consuming piece is handling the bolts. You have to custom cut
the bolts that attach the portlight to it’s outer trim. Every hull is a
different thickness so they can’t really stock every possible length. I
used my handy vise, cut them with the Fein Multimaster, cleaned them up
with the dremel and a sanding wheel and then used two bolts to ensure
the threads were clean. Here’s a video of that process.
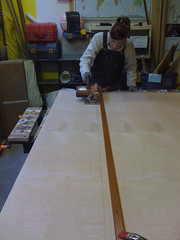
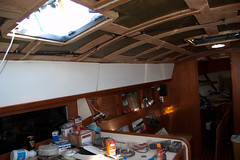
As we’re replacing the portlights, we’re also putting up new wood along
the interior teak along the insides of the cabin top. We will match the
new headliner to this when we replace that as well. Painting it all
white will brighten the boat considerably and visually make the cabin
feel a bit taller. We’re using 1/4” plywood, primed on the finished side
at the workshop prior to installation. We epoxy the new wood to over the
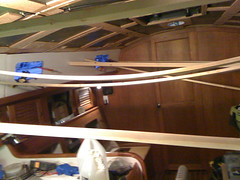
top of the existing wood. That is a pretty involved process of making a
paper template, cutting out the new pieces, dry fitting them (which
involves a lot of tweaking) then making the cut outs for the portlights
and then finally epoxying the new wood in place.
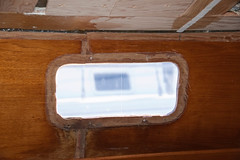
Here are a bunch of photos which roughly chronicle the process. Click
thru for larger pics or to see more. They look awesome, the glass is so
clean and clear I keep thinking they’re open!


![[068434]108](https://farm5.static.flickr.com/4066/4402483154_fd6b15211e.jpg)