2022 Winter Goals
Posted on Wed 12 October 2022 in ADVVAN
The main goal right now is to get the van ready for ski season so we can sleep in the van and be warm. This does not mean a finished interior, but a "campable" interior. We'll be using our Exped mattress, sleeping bags, and our camping kitchen from the Jeep. We'll have a place to sleep, eat and most importantly it will be warm and dry.
In addition to the Minimum Van Project goals, we're also trying to complete some projects which are hard to do to later in the build mostly because they involve cutting holes in the van.
Goals
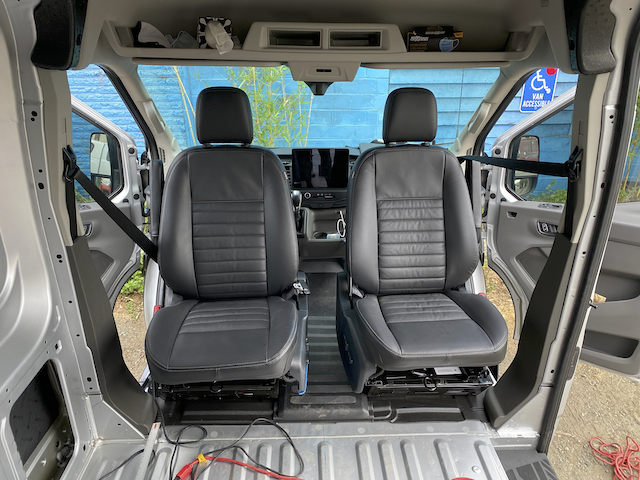
- Seat swivels alreary done and working!
- Second Skin Damplifier sound dampening
- 3M Thinsulate SM600L Insulation
- MaxxFan Deluxe installed front and rear
- Eberspächer Hydronic S3 D6L 24V diesel heater from Heatso.com
- Eberspächer EasyStart Pro Timer
- Kalori Silencio 2 (I call this a radiator)
- Webasto Blower Control Unit
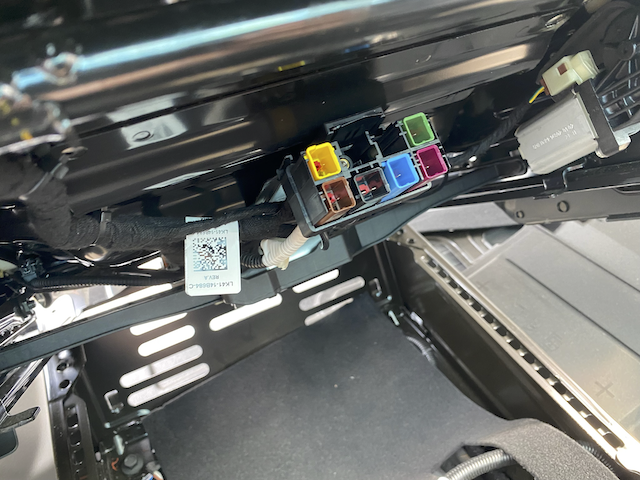
- Enough of an electrical system to run the MaxxFans and Heater
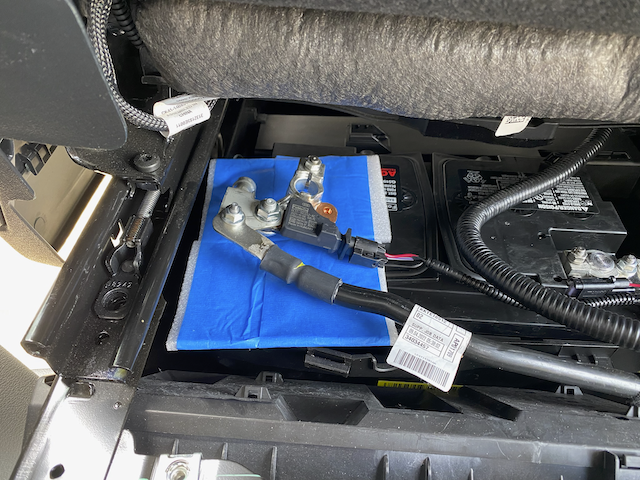
- SmartPlug install (won't be hooked up yet)
- Prototype platform bed for the Exped MegaMat Duo 10
- Subfloor Install
- ~~Lonseal Vinyl Flooring~~ <- Not till spring
- 1/2" Coosa Board
- Owen's Corning Foamular NX 250 Insulation
- Soundsulate 1lb Mass Loaded Vinyl for sound deadening
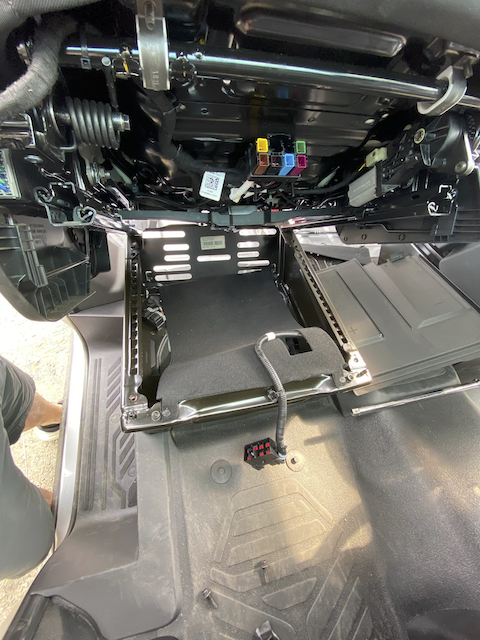
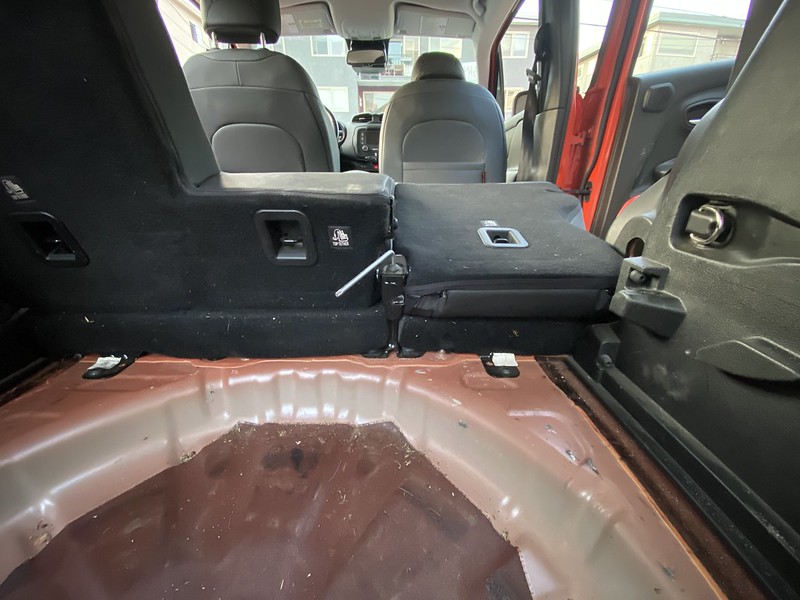
Platform Bed
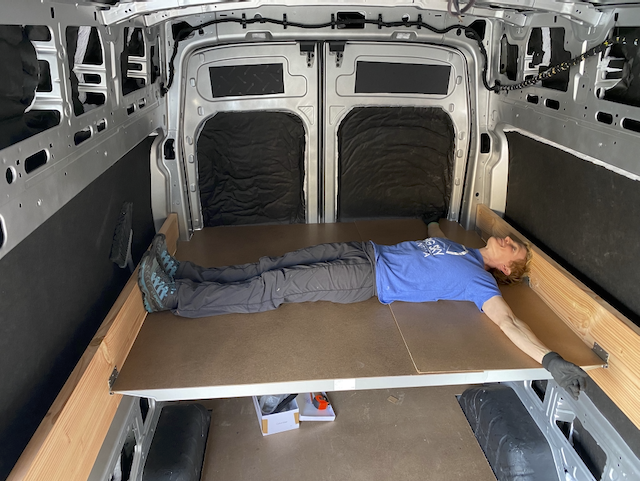
The platform bed you see above is just a lazily built prototype. We used 2x12's to create a mounting point for the Ikea Skorva support beams. This is sitting about 38" off the sheet metal floor which will be 36" off the finished floor. We'll be sorting out the final height of the bed and the final bed design in the spring. We want to be able to sit up in bed and have room underneath for our systems and toys like biks, SUPs, skis, etc..
We definitely will not be using the 2x12's as the final bed suport. They are too heavy and take up 4" in width. Even in this prototype, we'll be cutting them down so a platform can extend out beyond and into the wall cavities. The Exped is longer than the area you see Dawn laying down in.
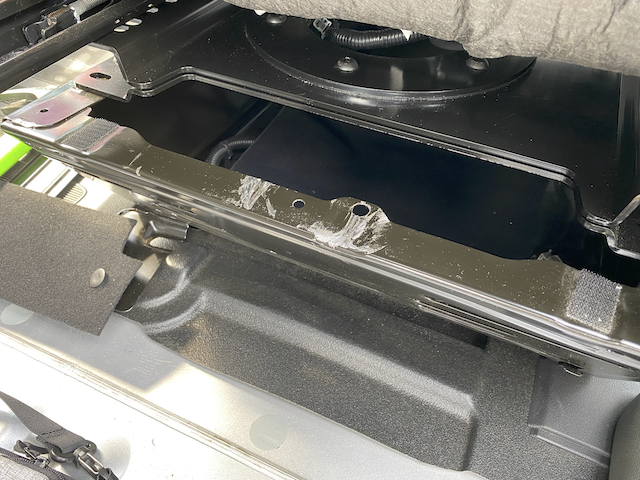
Subfloor
The flooring install is a variation of what many vanlifers do with some slight improvements. We're using 1/2" Coosa Board instead of 1/2" plywood. Coosa board is lighter, as strong, and will not absorb water. Foamular NGX 250 XPS insulation will be used instead of the 150 you can get at big box stores. The 250 can has a higher compression rating and the NGX is a more "green" product. On the bottom Soundsulate 1b mass-loaded vinyl for sound deadening. All of this will be glued together in layers as it is installed. We'll likely hold off on the Lonseal vinyl until spring.
One thing others commonly do is filling in all the ridges in the floor. Its our belief that you will get moisture in the van no matter what you do so you want to allow for air flow and drainage.
I'll provide more details on the electrical and the heating system in future posts.


 , but that would require removing the chain to access the
interior of the locker again. Not something I wanted to be doing any
time soon.
, but that would require removing the chain to access the
interior of the locker again. Not something I wanted to be doing any
time soon. to be tightened by hand… PERFECT!