Let the Refit Begin
Posted on Mon 14 September 2009 in Interior
I’ve been working on a document describing the refit we plan to do on Deep Playa. I thought it would be good to share it with all of you and see if anyone has feedback but also so others might benefit from seeing what I’m doing.
Here’s the first half of the document, still lots of specifics to figure out, but a good start.
Overview
This refit plan for Deep Playa includes replacing the standing rigging, re-bedding and improving the deck hardware, replacing and improving the running rigging, and new bottom paint and hull polishing.
This section will cover the highlights of the projects by area (Rig, Hull, etc) but the meat of the document with all the details will cover the projects in the phases they will be carried out.
This document will be reviewed with several yards and riggers for additional input and to help select who will do the work.
We like to do our own work where it makes sense (saves us money, teaches us key maintenance or survival skills) but there are times where specific expertise or time consuming work makes more sense to be done by a professional . To what degree we do things ourselves is to be determined.
Standing Rigging
The wire rope standing rigging appears to be original and it is overdue to be replaced. Replacing it involves dropping both masts, replacing all of the wire rope, inspecting an possibly replacing the chain plates, inspecting and possibly refinishing the spars, having new wire rope rigging made and then re-rigging the boat. At the same time any electrical, communications or running rigging projects that affect the standing rigging and the spars need to be done as well.
Planned Upgrades
- Adding a isolators to the main backstay for the SSB antenna
- Conduit for in-mast wiring
- Strong Track
- Running Rigging Related
- Route all halyards internally
- Add Spinnaker and Mizzen staysail halyards
- Rope clutches for main, mizzen, jib spinnaker and mizzen staysail halyards
- Inspect sheaves and probably replace, internal routing probably changes them all together
- Spreader Boots
- Electronics & Communications
Main
- Masthead NMEA 2000 weather station
- Masthead VHF Antenna
- Masthead LED Anchor and Nav Lights
- Masthead Davis Windex
- Spreader LED lights
- Foredeck Light
- Hailer Mount
- Ensure the crane has all that is necessary for planned sails
- Spinnaker halyard
Mizzen
- Masthead NMEA 2000 GPS
- Masthead AIS (backup VHF) Antenna
- Spreader LED lights
- Foreword Light
- Self leveling Radar Mount
- Ensure the crane has all that is necessary for planned sails
- Mizzen staysail halyard
Open Issues
- Refinishing the spars – What’s the cost
- How many things that are bolted to the spars need replacing?
- Main and Mizzen reefing are a mess
- Rigger needs to be identified
- Rigging Inspection Needed
Running Rigging
All of the lines for the running rigging except for the Jib Halyard and the Mizzen Sheet are in a very sad state and need to be replaced. In addition to that there are several very flawed installations such as the main sheet winch and main traveler which are also functioning poorly. At this point based on pricing and helpfulness I am plan to use Garhauer almost exclusively.
Planned Upgrades
- Move main sheet winch inboard
- Replace main traveler
- Add rigid boom vang
- Increase main sheet purchase
Open Issues
- Can I get a bulk discount from Garhauer?
- Should we do this before we make decisions on our sail maker?
Deck Hardware
Beyond the rigging fittings which will be pulled and rebedded all other deck mounted hardware will be rebedded as part of this the lifelines will be moved to the toe rail as well.
Planned Upgrades
- New Garhauer toe rail mounts for life lines
- New lifelines and fittings
- Bow trim piece is broken and needs to be replaced
- Moving the windlass foreword and the hawse pipe out of the berth
- Add additional bow roller
Open Issues
- Will we use wire rope or line for the lifelines?
- Should we add any fittings for jack lines?
- Can we afford new stern pulpits placed on the toe rail? Would include:
- Bimini
- Solar Panel mounts
- Stern reel mount
- Close the Bow Tank Hole?
- Will a horizontal windlass be needed
- Can the existing windlass handle two anchors
- Will the toe rail track need to be shortened to accommodate the lifeline changes
Hull Work
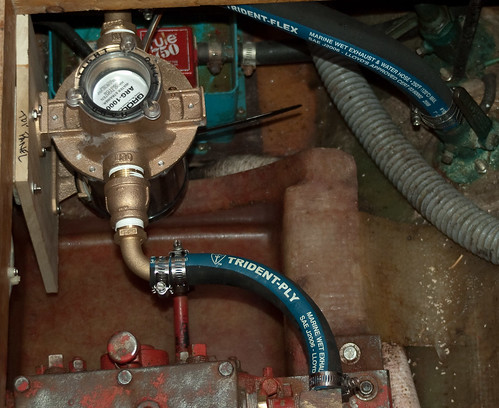
The main two parts of this project are new bottom paint and polishing the gel coat. In addition to that we want to evaluate all the thru-hulls and see if any might be eliminated as well as make modifications to our ground tackle management.
Planned Upgrades
- Remove unused thru hulls
- Toilet overboar
- Toilet intake
- Stainless steel on the bow to protect hull from anchors
- Bow padeye for anchor snubber
- Rebed and inspect starboard hatch
- Combine knot meter and transducer
- Inspect cutlass bearing and plan to replace
- Upgrade transducer to one with temperature, maybe not a thru-hull; maybe add or instead use fish finder type.
Open Issues
- Do we “plug” or glass closed unused thru-hulls?
- Should we close off the galley sink intake?
- Is the crazing in the gel coat around the hull a problem or just an age issue? Will polishing clean it up? Should we even care?
- What Hull paint should we use? Need to look at the PS articles and compare NW to CA paint results
Headliner, Portholes and Hatches
Removing the headliner is a necessity todo all the other work; we plan tO replace it at the same time as well. The damaged teak along the cabin top will be covered so it blends with the new white headliner as well to create a visual lift to the salon. The leaky and sealed closed portholes will also be replaced with the New Found Metals portholes we acquired this summer. The hatches are also questionable (the aluminum is brittle in places) and leaky they will be replaces as well while the headliner is out. In the final installation the teak colored strips holding up the headliner will be painted white to blend them with the headliner.
Planned Upgrades
- New Found Metals Portholes
- Replace hatches
- New headliner
- New cabin top wood (cover up teak)
Open Issues
- Brand of hatches TBD, New Found Metals is supposed to be making hatches this fall
- Headliner material is TBD, Originally wainscoting was the plan, are we really over that?


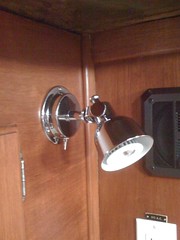 LED Lighting
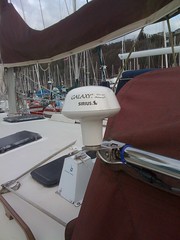 Sirius XM Radio Antenna